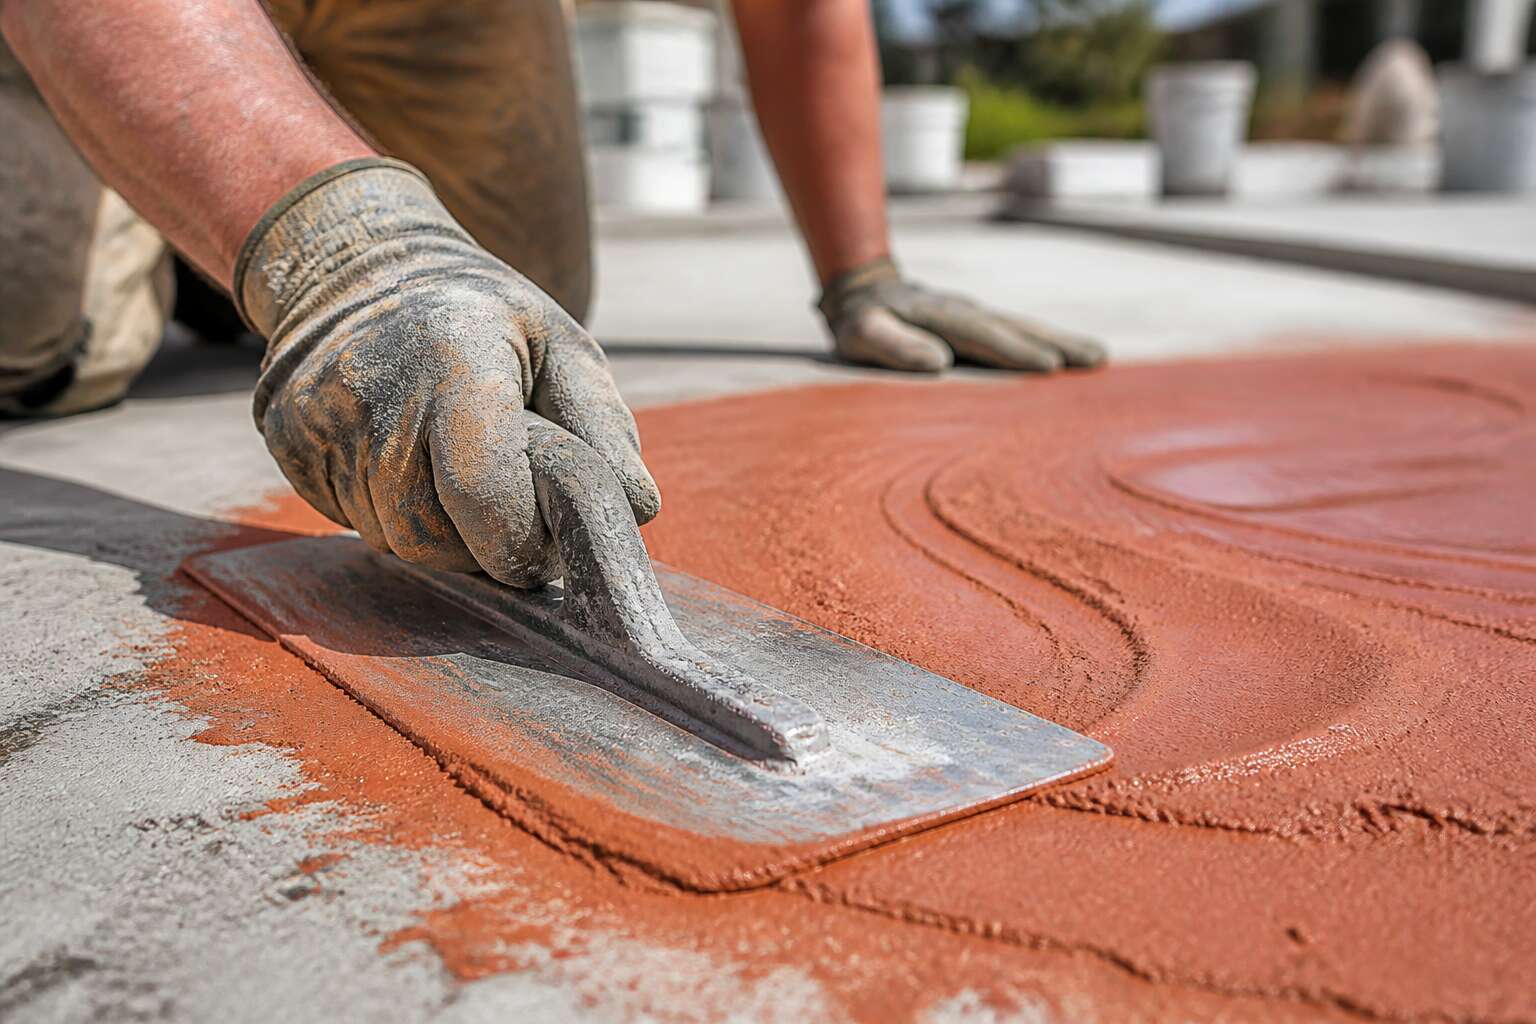
Essential Materials and Tools for Pigmenting Concrete
Choosing the Right Concrete Mix
Achieving a permanent, even colour in concrete is a precise craft, and it begins long before the pigment ever touches the mix. The concrete mix itself is your canvas; the quality of the cement and aggregate determines how well the colour will bond and hold over time. A high-strength Portland cement with a consistent grey tone is the standard, as the cement’s colour directly impacts the final hue. Using a clean, well-graded aggregate is equally important, as impurities or organic matter can cause discolouration. For a deep, rich tone, you must start with a mix that has a low water-to-cement ratio, creating a dense paste that accepts pigment evenly.
Once your mix is sorted, you need to gather the right tools for the job. Precision is the name of the game here, and you will need a reliable set of scales to weigh your pigment accurately, as a variance of even a few grams can shift the entire palette. A dedicated mixing drum or a strong paddle mixer is essential for ensuring the pigment is thoroughly dispersed through the concrete, preventing blotchy patches. Here is a short list of the fundamental equipment you will need:
- Accurate digital scales for pigment measurement.
- A high-shear mixer to break up pigment clumps.
- Clean buckets and trowels, free of any residue.
With these basics in hand, you are ready to approach the core of how to pigment concrete. This is where the true skill of proportioning comes into play. You must learn to judge the saturation levels by eye, adjusting your pigment dosage based on the specific sand and stone you have on hand. Remember that the final colour will lighten as the concrete cures, so testing a small sample is always a smart move before committing the full slab.
Types of Concrete Pigments: Powders, Liquids, and Granules
Pigmenting concrete demands precision, and your material choices separate a vibrant surface from a blotchy failure. Understanding how to pigment concrete starts with picking the right pigment form. Powders offer intense colour at a low cost, but they need thorough mixing to avoid streaks. Liquids blend easily, perfect for beginners, while granules create a subtle, mottled finish. I always recommend testing each type on a small pad first, as the final hue lightens during curing.
Your tools complete the setup. A high-shear mixer and a reliable scale are essential, and I keep dedicated buckets to prevent contamination. Here is what belongs on your bench:
- Fine-mesh sieve for breaking up lumps
- Nitrile gloves and a dust mask
- Clean measuring cups for liquid pigments
This kit is the foundation for consistent, repeatable results.
Tools Needed for Mixing and Application
Most concrete colour failures trace back to sloppy measuring, not bad pigment. A digital scale with 0.1g precision is the difference between a perfect match and a mismatched patch. Before starting, gather everything in one place.
Here is what I keep within arm’s reach:
- A 60-litre high-shear electric mixer
- A calibrated digital scale
- A fine-mesh sieve for dry pigment lumps
- Nitrile gloves and a dust mask
- Clean, dedicated buckets for each mix batch
The application side needs attention too. A magnesium float works for flat slabs, while a sprayer handles textured overlays. Each tool serves a specific step, and mixing times matter. Knowing how to pigment concrete properly means respecting these tools and their limits. Skimp on one and the final surface shows it!
Protective Gear and Safety Equipment
Pigmenting concrete is a dusty, caustic ceremony. The powder billows, the wet slurry burns, and South African sun only compounds the risk. Cement burns develop in seconds on damp skin. Silica dust leads to silicosis after years of exposure. Before weighing a single gram of pigment, you need a barrier.
Keep this protective kit near the mixing station:
- A respirator with P3 particulate filters
- Chemical-resistant nitrile gloves
- Sealed safety goggles or a full-face shield
- Barrier cream for exposed skin
- A long-sleeved work shirt with high visibility
The distinction between safety gear and mixing tools matters. A respirator is not a dust mask. A dust mask stops large particles; the respirator captures fine silica and pigment particulates. When you learn how to pigment concrete, you learn that the slurry is alkaline enough to etch glass over time. Working outdoors in Gauteng or the Cape, the respirator feels unbearable in summer heat, yet it stays on. I keep a five-litre bottle of clean water beside the mixer and rinse any splash immediately. Anyone who wants to master how to pigment concrete protects skin, lungs, and eyes before the first batch is mixed.
Optional Admixtures for Color Enhancement
Every pigmenting project demands materials that resist the caprice of colour. You require clean water, Portland cement of consistent quality, and mineral oxides that survive the South African sun. The proportioning scale earns its place beside the mixer. Measure pigment by weight, never by volume, for a kitchen spoon delivers uncertainty.
Optional admixtures alter the final complexion. Plasticisers improve workability without extra water. Bonding agents help thin toppings cling to worn slabs. Curing compounds slow evaporation when Highveld heat steals moisture. Knowing how to pigment concrete means understanding that admixtures are corrections, not shortcuts.
- Plasticisers and superplasticisers
- Bonding agents for thin overlays
- Integral water-repellent admixtures
- Fibre reinforcement for crack control
Restraint governs admixture selection. Excessive water repellent dulls pigment depth. Excessive plasticiser thins the slurry until colour bleeds across the surface. Measure liquid admixtures with a graduated cylinder and log every addition. To master how to pigment concrete is to respect the proportions.
Preparing the Concrete Surface for Pigmentation
Cleaning and Degreasing the Surface
Concrete holds memory in its pores. A single patch of grease from a leaking engine, or a bloom of old efflorescence, will rise up later to cloud your pigment work, like a ghost in a photograph. The surface must be reborn before it can receive colour. Begin by sweeping away all loose debris, then address the embedded soils that plain water cannot touch. A dedicated degreaser, applied and agitated with a stiff bristle brush, will break the bond between the oil and the concrete matrix. This step is not mere tidiness; it is the foundation for any lasting transformation.
To ensure the etching and pigment application have a fair chance, run a simple water test. Sprinkle a handful of clean water across the slab. If it beads up and forms droplets, you are not ready. If it soaks in quickly, the pores are open and thirsty for the pigment.
- Treat stubborn oil stains with a poultice of baking soda and water, left to sit overnight.
- After any chemical cleaning, always rinse the surface thoroughly with fresh water.
- Wait for the slab to dry completely, as trapped moisture will dilute the pigment slurry.
The beading test is your final oracle. Once the concrete accepts water easily, the surface is prepared for the next step in the process of how to pigment concrete. This careful preparation is the quiet work that ensures the vibrant colour you lay down will be the only thing that lasts.
Repairing Cracks and Imperfections
Once the slab drinks water eagerly, turn your attention to its flaws. Cracks and spalled edges will betray the colour work later. A narrow crack can be widened slightly with an angle grinder to create a key for the repair mortar. Remove all loose particles with a vacuum, and check for:
- Deeper fissures that require a structural repair mortar
- Honeycombing or small voids left by trapped air
For deeper fissures, use a patching compound formulated for horizontal surfaces. Press it firmly into the void and strike it off flush with a steel trowel. Allow the patch to cure fully. A wet cure, using damp hessian or a fine mist, prevents the repair from pulling moisture away from the pigment slurry later. This quiet repair work is part of how to pigment concrete correctly.
Etching the Concrete for Better Adhesion
Chemical etching is the difference between a pigment finish that lasts a decade and one that peels within a season. A smooth slab has closed pores. Those pores must be opened before any colour work begins.
Once repairs have cured, prepare a diluted muriatic acid solution. One part acid to four parts water is the standard ratio. The mixture should fizz on contact with the concrete. If it does not, the surface is still sealed or dirty. Work in small sections, applying the solution with a stiff brush. A push broom keeps you upright and the acid moving evenly.
Rinse thoroughly with clean water until the runoff runs neutral. The slab should feel rough and slightly abrasive to the touch. That tooth holds the pigment slurry in place. Getting this step right is essential when learning how to pigment concrete.
Moisture Content and Drying Time
After etching, the concrete must lose that moisture before any pigment is applied. The slab should feel damp but not wet, with no standing water. Look for a saturated surface dry condition. This state gives the pigment slurry the correct moisture balance to settle into the opened pores.
Moisture content decides whether the pigment will penetrate or simply sit on top of the slab. Too much water and the slurry slides away. Too little and the concrete draws moisture from the colour too quickly, leaving patchy tones.
Here is a practical way to test readiness:
- Press a plastic sheet onto the concrete overnight.
- Check for condensation droplets beneath it in the morning.
- If any appear, the slab needs another day of drying.
Drying times vary with local humidity and temperature, so rushing this step is a common mistake when learning how to pigment concrete.
Testing Color Absorption on a Small Patch
Once the slab reaches that saturated surface dry condition, the real preparation begins. Mask off any adjoining walls or fixtures before you mix a single batch. A stray splash of pigment on a finished surface creates more work than the entire application, and I have learned that lesson the hard way!
Now comes the step most people skip: testing color absorption on a small patch. Mix a small batch of your pigment slurry and brush it onto an inconspicuous corner of the slab. Let it dry completely. The colour you see once it dries is the colour you can expect across the full slab, not the darker shade of the wet slurry.
This test also reveals whether the concrete is pulling the pigment evenly. If the patch looks blotchy, the surface needs more attention before you commit to the full pour. Understanding this nuance is part of learning how to pigment concrete properly.
Masking Off Areas to Protect Surroundings
One stray droplet of pigmented slurry can permanently etch itself into a brick paver or aluminium window frame. Masking protects the surroundings before any mixing begins. In South African conditions, where UV light bakes surfaces hard, pigment stains become stubborn fast. Understanding how to pigment concrete includes understanding this protective step.
Survey the entire workspace. I cannot overstate the importance of this survey. Adjoining walls, garage doors, paving stones, and even plant stems all need coverage. Heavy-duty polyethylene sheeting and quality painter’s tape do the job. Press the tape down firmly to prevent bleed-under.
Expansion joints and gaps between the slab and its edges catch drips and channel them beneath the concrete. Seal these channels with tape or a temporary filler.
Inspect the masking lines from multiple angles. This is your last chance to catch gaps before the slurry hits the surface. Every missed spot will announce itself later, demanding more effort than masking ever did. That is the real weight of how to pigment concrete carefully.
Mixing and Applying the Pigment Correctly
Calculating the Pigment-to-Concrete Ratio
Precision is the quiet luxury of concrete work, and the mixing ratio is where amateurs go astray. Measure pigment by weight against the dry cement, aiming for a lean 3% ratio. Anything beyond 5% weakens the slab and invites a dusty surface. The calculation matters more than fancy tools.
To blend effectively, introduce the dry pigment to the aggregate and tumble for one minute. Never add liquid pigment straight into the mixer’s drum! Instead, combine it with your mix water first. Here is the process for mixing and applying the pigment correctly:
- Weigh the cement.
- Add liquid oxide to the measured water.
- Pour gradually into the spinning drum.
Understanding how to pigment concrete relies on patience. The surface reveals its readiness when the sheen pulls away, and troweling then becomes a matter of restraint.
Dry Shake Method: Broadcasting Pigment onto the Surface
Broadcasting pigment onto a fresh slab is a different craft entirely. The dry shake method demands a steady hand and a precise eye. You wait until the bleed water evaporates, then fling the pigment powder across the surface in sweeping arcs. Two passes, one at right angles to the other, ensure even coverage. The powder must be worked into the concrete with a float, then troweled smooth as the surface firms up.
Here is the sequence that works:
1. Wait for the slab to lose its sheen.
2. Broadcast half the pigment evenly.
3. Work it in with a magnesium float.
4. Repeat with the remaining pigment.
5. Trowel to a final finish.
The trick is restraint. Too much pigment, and the surface dusts. Too little, and the colour fades unevenly. When learning how to pigment concrete, the dry shake method rewards patience, and the result is a surface that looks dyed from within rather than painted on top.
Using a Color Hardener for Heavy Traffic Areas
Colour hardener for heavy traffic areas is a different proposition from tinting a residential patio. The pigment is pre-blended with cement and silica sand, so the colour runs through the slab instead of sitting on top. Anyone learning how to pigment concrete for industrial floors must first check the expected wear. A warehouse aisle sees constant forklift traffic, so the surface needs density, not just colour.
When you apply it, follow a strict rhythm:
- Mix the hardener with dry cement in the ratio printed on the bag.
- Cast the first coat onto the fresh slab.
- Float it in once the powder absorbs moisture.
- Repeat with the second coat at a right angle.
- Trowel to a tight, dense finish.
This is how to pigment concrete that stays true under heavy tyres and pallet jacks.
Working the Pigment into the Concrete with a Float
Adding pigment directly to the drum before pouring gives you a uniform colour, but only if you handle the float correctly. I once watched a team rush this step on a warehouse floor in Durban, and the mottled result had to be overlaid entirely. The lesson stuck: how to pigment concrete with a float is as important as the pigment itself.
Work the float in long, straight passes, letting its weight do the effort. Keep the blade flat against the surface, and lift it only at the end of each stroke. Tilt the float slightly on the return pass to press the aggregate down and pull the pigment up. You are not polishing; you are settling the colour into the cream!
Achieving a Consistent Finish Across Large Areas
Achieving a uniform finish across large slabs is a test of patience, particularly when the pigment has been added during the batching phase. The floating technique is only half the story, because how you apply the pigmented concrete to the formwork dictates the entire outcome. A common error is to let the mix sit in the drum with a stiff, dry consistency while you faff around with the trowel. This sets off the colour too early, leaving you with a surface that resembles a patchwork quilt.
Instead, aim for a workable slump before you ask one person to pour and another to float. The screed must be pulled tight with a straightedge, not dragged, to push the material into a level plane. Once the water sheen disappears, and only an imprint of your boot heel remains, then the float begins its journey. On a job I oversaw in Cape Town, we used a two-man crew: one to spread, one to float. The man on the float kept his passes methodical. The moment he took a break, the surrounding concrete had already stiffened, creating a ridge that no amount of pigment could hide.
For larger footprints, consider this a rhythm rather than a chore. Your float must overlap each previous pass by a third to avoid hard lines. Speed is your ally here, but only if you work the cream slowly to the surface. Pushing too hard on the trowel brings up water, which dilutes the pigment and leaves a washed-out tone near the edges.
– Work in manageable bays if the pour exceeds 20 square meters.
– Keep the float blade wetted when travelling over silica-based mixes to prevent drag.
– Use a magnesium float for standard slabs, as steel tends to seal the surface too quickly.
The result of this care is a colour that sits in the top layer, not buried below the aggregate. When the final trowel pass is made, the pigment should appear glass-like, reflecting light without grinding marks. Getting this right means the colour is not just on the surface, but locked into the stone paste that gives concrete its endurance. Nobody remembers a slab that looks uniform from afar, but they always remember the one that lacks any variation at all.
Sealing and Curing for Long-Lasting Color
Choosing the Right Sealer for Pigmented Concrete
The sealer you choose determines how your colour holds up. South Africa’s harsh UV conditions will fade a poor sealer, leaving pigmented concrete washed out within months. Water-based acrylics suit interior floors, while solvent-based polyurethanes handle exterior paving more resiliently. The critical moment is curing, not sealing alone. If you skip the curing process, moisture escapes too quickly and the pigment can mottle.
Consider these factors when selecting a sealer:
– Penetrating sealers for a natural, matte look
– Film-forming sealers for gloss and protection
– Anti-slip additives for pool decks and driveways
When you learn how to pigment concrete, you discover that the sealer locks in the colour and protects it from abrasion. Apply two thin coats instead of one thick one, and always test the sealer on a sample area first. The right curing method is part of how to pigment concrete successfully. It means the difference between durable colour and one that fails within a year.
Applying a Penetrating Sealer vs. a Film-Forming Sealer
Experienced South African contractors will tell you that most pigment failures trace back to sealing and curing, not the colour itself. I have seen identical pours end up completely different because one installer rushed the seal.
A penetrating sealer sinks into the pores and locks onto the pigment from within. It leaves a natural, matte finish while allowing vapour to escape. A film-forming sealer rests on the surface, giving a deeper gloss but trapping moisture if the slab is not fully cured.
Wait at least 28 days before sealing. Apply two thin coats, brushed perpendicular to each other.
- Check the forecast for rain or high humidity
- Apply in the morning so the sealer dries before evening dew
- Use a lambswool applicator for even distribution
When you learn how to pigment concrete, you learn that curing determines pigment stability. Skip it and the colour mottles. Honour it and the colour holds.
Curing Methods to Lock in Color
Up to 40% of pigment colour loss stems from curing mistakes, not the pigment itself. That is a hard truth for contractors who blame their material. When you learn how to pigment concrete, you learn that curing is chemistry, not theatre. It locks water inside the slab so the cement can fully hydrate. That hydration drives the colour reaction in the pigment particles.
The danger comes from fast drying. In the South African Highveld sun, surface water evaporates in hours, leaving you with a pale, dusty finish. You counter this with water. Keep the surface moist for seven days. Use soaked hessian cloths or a fine mist sprayer. Some crews use a curing compound, a liquid membrane that slows evaporation. Whatever method you choose, do not let the surface go dry.
Wet curing is simple but demanding. You need a routine, because one missed day cracks the whole system.
1. Start the process as soon as the surface can take light foot traffic.
2. Cover the slab with wet hessian or a curing blanket.
3. Keep the coverings damp every day for the full seven day cycle.
4. If you use a liquid curing compound, apply it evenly before the surface dries out.
A properly cured slab absorbs sealer evenly, showing the pigment accurately. A rushed curing job leaves patches that soak up sealer differently, creating colour variations you cannot fix later. The pigment is stable once cured. It is during that first week that it needs protection. Your sealer locks in the result, but only if the concrete has already reached its full colour state. The sequence matters. Cure first, then seal, then walk away with confidence.
Timing the Sealer Application After Placement
The sealer is the final authority on colour longevity, but only when applied at the correct moment. South African contractors often lose pigment to haste, sealing as soon as the slab no longer glistens. That dry surface hides a working chemistry. Cement continues hydrating for weeks, and a sealer applied too early traps that moisture as a milky film. Learning how to pigment concrete means timing the sealer application after placement to allow hydration to finish. That timing shifts with three variables:
- Slab thickness, since deeper sections bleed heat slowly
- Ambient humidity, which slows evaporation
- Fly ash content, which lengthens the curing window
A penetrating sealer tolerates lingering dampness, but a film-forming sealerdoes not. Knowing how to pigment concrete includes waiting for the surface to bead water instead of absorbing droplets, then sealing. That capillary refusal marks readiness; only then can sealed concrete meet foot trafficand rain without fading.
Maintaining the Colored Surface with Regular Cleaning
In South Africa, the most common cause of faded coloured concrete is not a bad pigment but a busy household with a high-pressure hose. Sealing and curing are the final acts in learning how to pigment concrete. A cured slab holds its colour; a sealed slab keeps it. But the sealer is not a permanent shield. It is a working surface that demands respect. Dirt and UV radiation conspire to dull even the richest oxide pigments.
The remedy is not another coat, but a simple habit: rinse gently, brush with a soft broom, and let water sheet away. Harsh detergents or pressure washers aimed too directly will strip the sealer’s surface film. Those who honour this routine find their colour carries through the years without fading.




0 Comments